Tutorial: Rails7, Tailwind, and Hotwire

After months developing in Typescript with NestJS due to demands from my current job, I managed to find some time for my beloved Ruby on Rails. Even better now, since I don’t officially work with Rails, I can indulge myself in exploring the newly released alpha version 7 for my personal projects.
Note: I plan to write some articles about my struggles with NestJS and Typescript. Some topics I intend to cover include TypeOrm with migrations and Multitenant applications using PostgreSQL RLS.
Overall Objective
In this tutorial, I aim to develop (and learn) using Rails 7, esbuild, Tailwind, and Hotwire (Turbo and Stimulus), but my focus will be more on the Hotwire package and how it can help us. As I progress with studies and implementation, I will continue to update this tutorial. For now, we have:
The backdrop is a Kanban-style application, with a board where we can add, view, edit, and delete cards/tasks, all persisted simultaneously via websockets to all open application sessions. All code is available in this repository. Note that it includes some branches representing the covered parts here.
Step Zero - Rails 7
In this initial part, I explain how to set up Rails 7 with its new options and how to “dockerize” the PostgreSQL and Redis databases. The final result of this step is available in the branch blog-part-0.
Creating a new project with Rails 7
I used the following versions for this project:
$ ruby -v
# ruby 3.0.3p157 (2021-11-24 revision 3fb7d2cadc) [x86_64-linux]

$ rails -v
# Rails 7.0.0.rc1

$ yarn -v
# 1.22.17
I created a new project with the following command:
$ rails new LearningHotwire \
              -d=postgresql \
              --skip-test \
              -j esbuild \
              --css tailwind
Nothing new in the first two flags: it will be an application with PostgreSQL database
(-d=postgresql) and without the default Minitest package (--skip-test).
In the last two, there are some novelties: I choose esbuild
as the JavaScript bundler (-j esbuild) and tailwind
as the CSS processor/framework (--css tailwind). These new flags correspond to the gems
jsbundling-rails and
cssbundling-rails automatically included
in the Gemfile.
Some inclusions
In the Gemfile, I removed the comments and included some gems, resulting in:
# Gemfile
source "https://rubygems.org"
git_source(:github) { |repo| "https://github.com/#{repo}.git" }

ruby "3.0.3"
gem "rails", "~> 7.0.0.rc1"

gem "cssbundling-rails", ">= 0.1.0"
gem "jbuilder", "~> 2.7"
gem "jsbundling-rails", "~> 0.1.0"
gem "pg", "~> 1.1"
gem "puma", "~> 5.0"
gem "redis", "~> 4.0"
gem "sprockets-rails", ">= 3.4.1"
gem "stimulus-rails", ">= 0.7.3"
gem "turbo-rails", ">= 0.9.0"

gem "bootsnap", ">= 1.4.4", require: false

group :development, :test do
  gem "byebug"
  gem "rspec-rails", "~> 4.0.0"
end

group :development do
  gem "web-console", ">= 4.1.0"

  gem "foreman", require: false
  gem "rubocop", require: false
  gem "rubocop-packaging", require: false
  gem "rubocop-performance", require: false
  gem "rubocop-rails", require: false
  gem "rubocop-rspec", require: false
  gem "rubycritic", require: false
end
Redis is commented out by default, but we will use it later for ActionCable with turbo-rails.
In the :development and :test blocks, I included some gems for testing and linting. I’m not sure yet
if I will develop tests, but just in case, I installed RSpec with the standard command
rails generate rspec:install and included configuration files such as
.reek.yml,
.rubocop.yml,
.rubycritic.yml,
among others.
Docker
To facilitate development, I “dockerized” PostgreSQL and Redis with the following docker-compose.yml:
# docker-compose.yml
version: '3.4'

services:
  db:
    image: postgres:14-alpine
    container_name: learhot-db-ctr
    mem_limit: 256m
    command: -c fsync=off --client-min-messages=warning
    volumes:
      - db:/var/lib/postgresql/data
    ports:
      - "127.0.0.1:5432:5432"
    environment:
      POSTGRES_PASSWORD: postgres
      POSTGRES_INITDB_ARGS: '--encoding=UTF-8 --lc-collate=C --lc-ctype=C'
    restart: on-failure
    logging:
      driver: none

  redis:
    image: redis:6-alpine
    container_name: learhot-redis-ctr
    mem_limit: 256m
    volumes:
      - redis-data:/var/lib/redis/data
    ports:
      - "127.0.0.1:6379:6379"
    restart: on-failure
    logging:
      driver: none

volumes:
  db:
  redis-data:
To communicate with these databases, I changed the config/database.yml and config/cable.yml:
# config/database.yml
default: &default
  adapter: postgresql
  encoding: UTF8
  host: localhost
  user: postgres
  password: postgres
  pool: <%= ENV.fetch("RAILS_MAX_THREADS") { 5 } %>

development:
  <<: *default
  database: LearningHotwire_development
  port: 5432

test:
  <<: *default
  database: LearningHotwire_development
  port: 5432

# config/cable.yml
development:
  adapter: redis
  url: <%= "#{ENV.fetch("REDIS_URL") { "redis://localhost:6379" }}/1" %>
  channel_prefix: LearningHotwire_development

test:
  adapter: async

production:
  adapter: redis
  url: <%= "#{ENV.fetch("REDIS_URL") { "redis://localhost:6379" }}/1" %>
  channel_prefix: LearningHotwire_production
Procfile
With the new inclusions of JavaScript bundler and CSS processor/framework, Rails 7 uses the foreman gem to start all development environment, which calls the processes listed in the Procfile.dev. This is because not only the Rails server needs to be run in watch mode anymore, but also these two new inclusions.
Since we included PostgreSQL and Redis in docker, we can also include docker-compose up in the
Procfile.dev,
like this:
docker: docker-compose up
web: bin/rails server -p 3000
js: yarn build --watch
css: yarn build:css --watch
Yay! You’re on Rails!
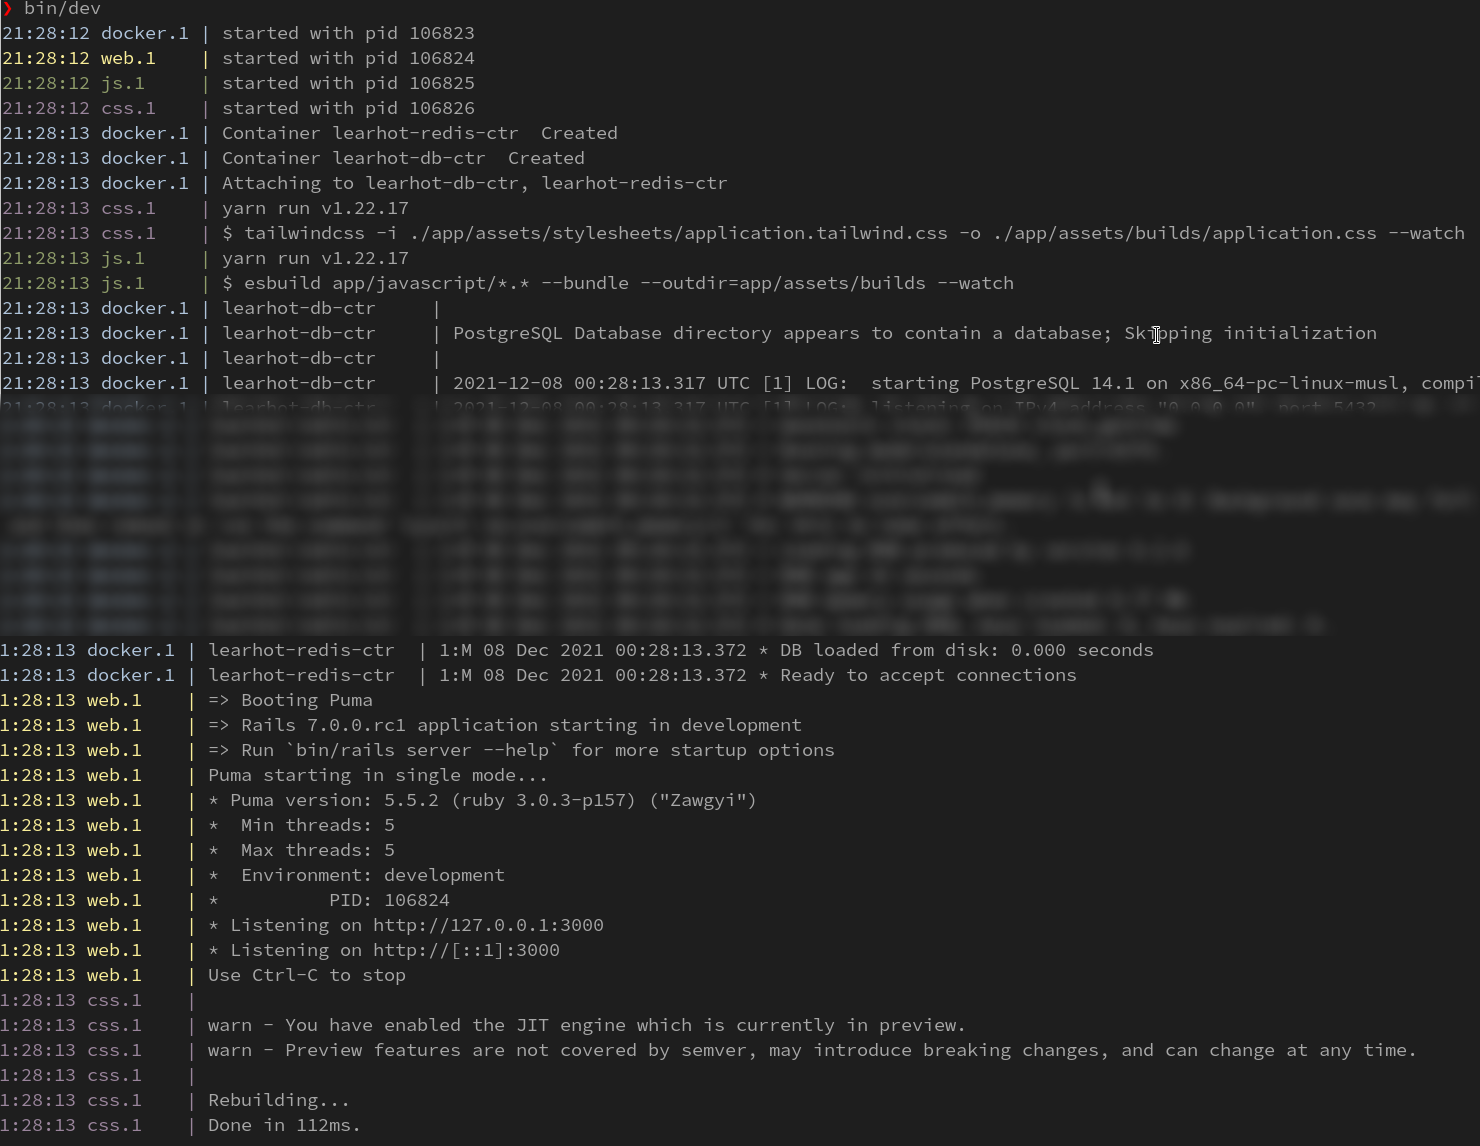
That’s it. Just run the available script bin/dev that calls foreman for the updated Procfile.
# this script already comes with execution permission
$ bin/dev
You should get something like this in your terminal:
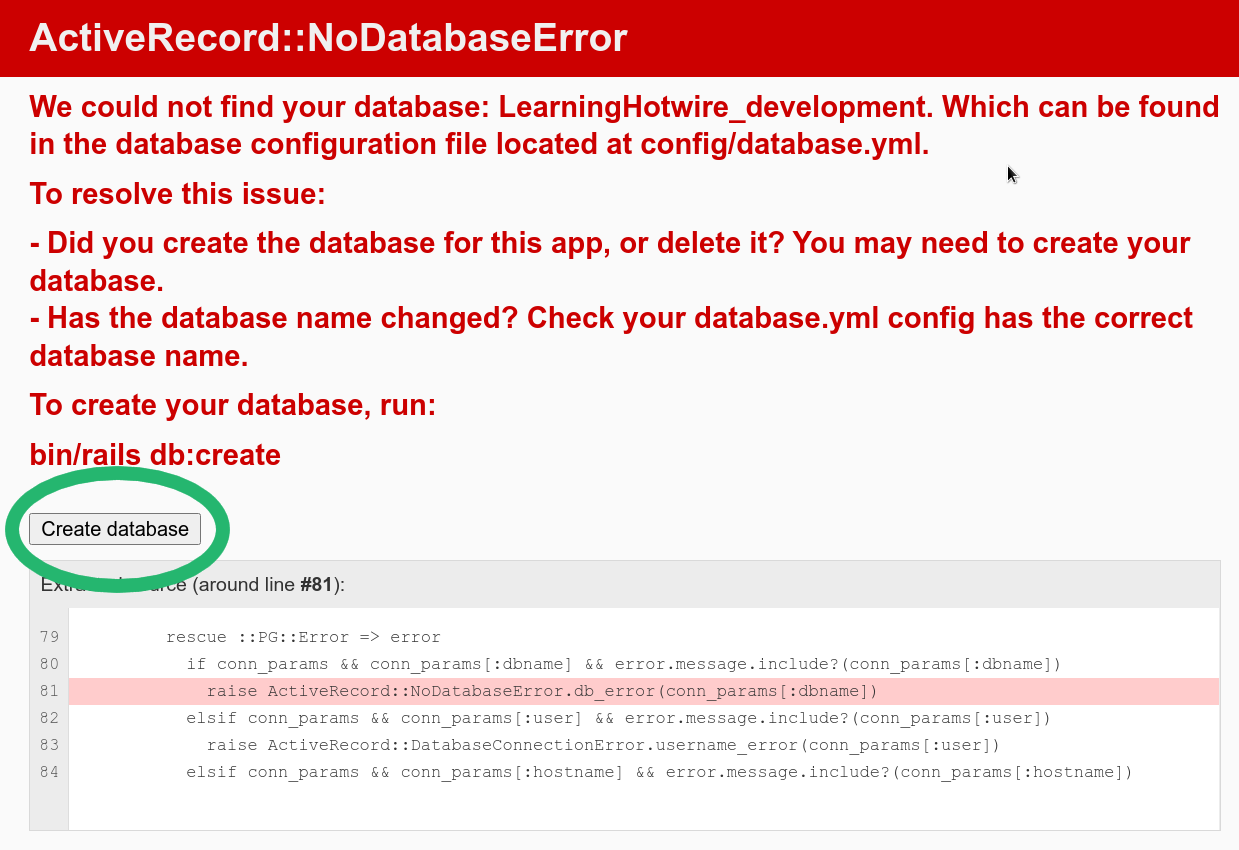
Don’t forget to create the database. You can do this now on the web page:
Or, in another terminal since we need docker running, use:
$ rails db:create
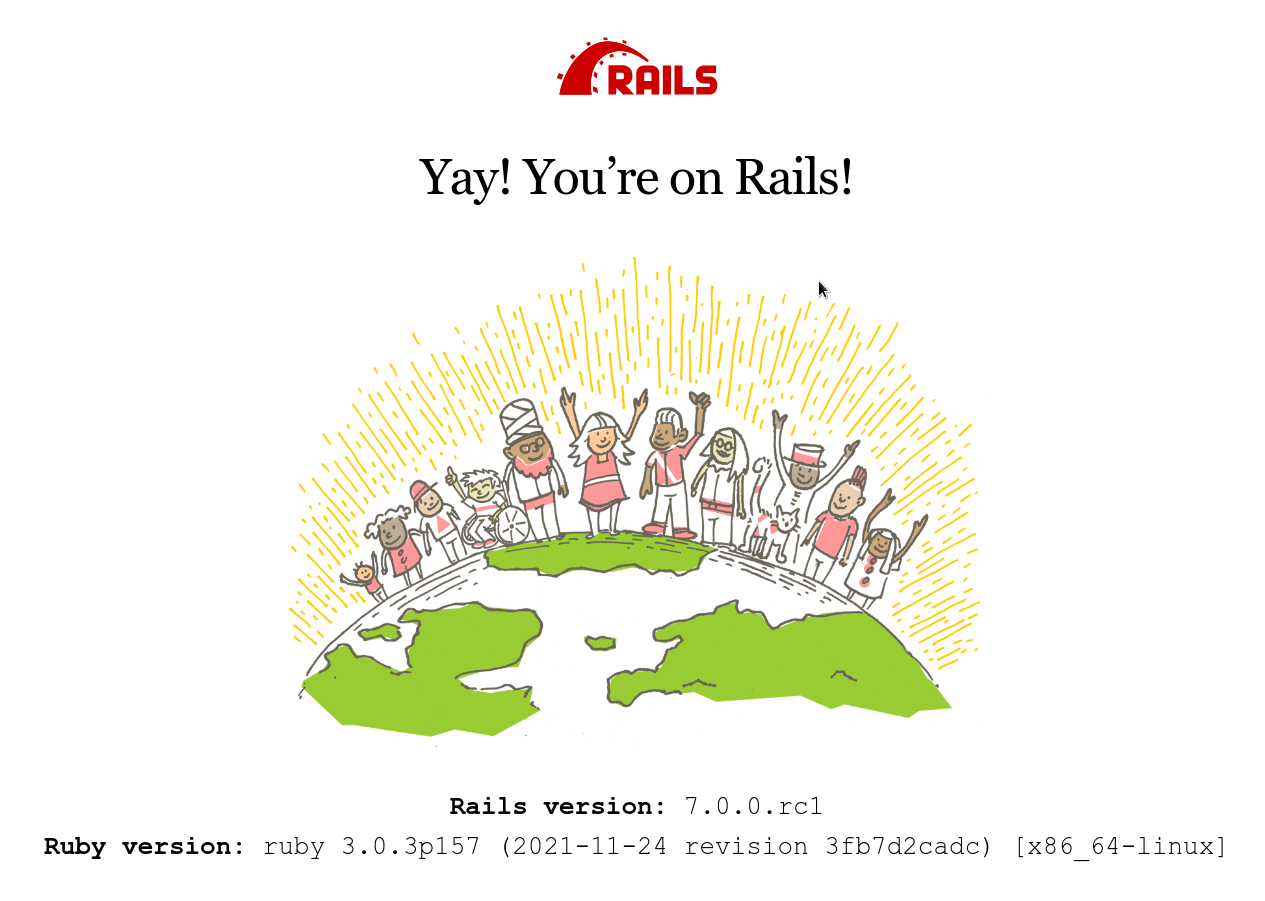
And access http://localhost:3000/ to see the classic Rails screen.
For now, that’s it.